

[widgets_on_pages id=”udemy_heading”]
The Unreal Engine Developer Course – Learn C++ & Make Games

Building Games with SFML
4 hour video course.

C++ From Beginner to Expert
Video course for complete beginners.

This tutorial is the place to start if you are a complete beginner to Unreal Engine. It will cover the quick and easy installation process as well as a quick guided tour of the Unreal Engine UI.
To get started, register and download the latest version of Unreal Engine from here.
 You will need to fill out a very short registration form, choose your OS (Windows or Mac) and then you will download a small installer program. When the installer is downloaded, run it by double-clicking the file that begins with EpicGamesLauncherInstaller…. and click the Run button. Choose where to install Unreal Engine, note that it takes at least 16GB of hard disk space. The installer will create a new folder called Epic Games. Don’t leave your PC however, because you will be prompted several times to “allow access” or “allow this program to make changes” for the various parts of Unreal Engine. Soon you will be prompted to log in using the details of the account you created previously.
Soon you will be faced with the Unreal Engine manager/launcher application.
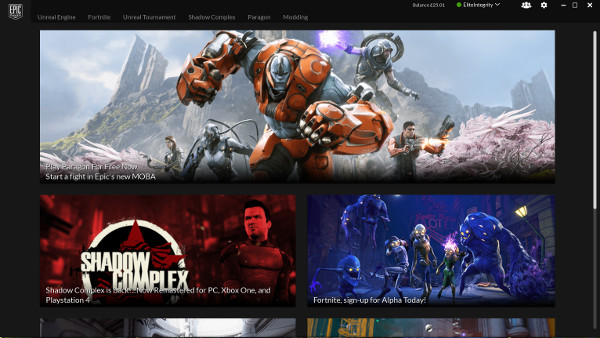
This is different to Unreal Engine proper. To setup Unreal Engine and get started making games, left-click the Unreal Engine tab and then click the Install Engine button.

If you changed the install location when you downloaded the launcher app then browse to the Epic Games folder that was created earlier and click Install.

Sit back and relax because the real download of Unreal Engine might take some time depending upon the speed of your Internet connection. You will know your installation is ready to use when you see the Create Game button as shown next.
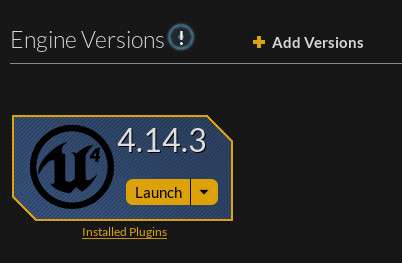
If you click this button then you will launch the Unreal Editor which enables you to start a new Blueprint or C++ based project.
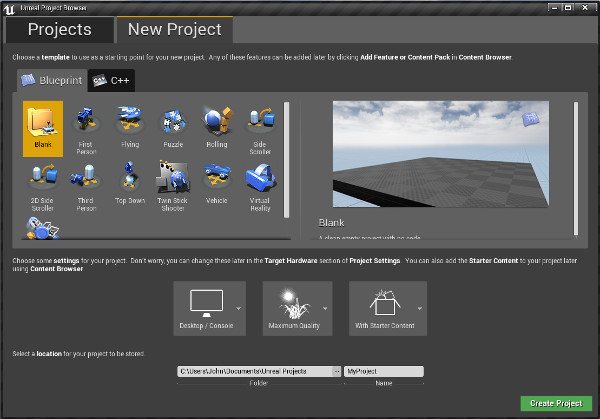
In the next tutorial, we will create a project for real and build a simple level.
what’s next,there is no link
Sorry, I ran out of time with these.